Follow the image guide below to learn how to use your SUTHERLAND® Rub Tester. You can also view our instructional video here.
Step 1
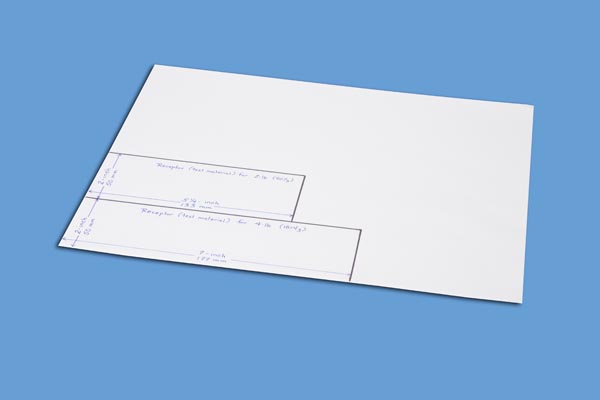
- Prepare the test strips of material from the same shipment of stock used in the test sample.
- Cleanly cut 2" by 5-1/4" (50mm x 135mm) strips for the 2-pound weight.
- 2" x 7" (50mm by 177mm) strips for the 4-pound weight (if necessary).
Step 2
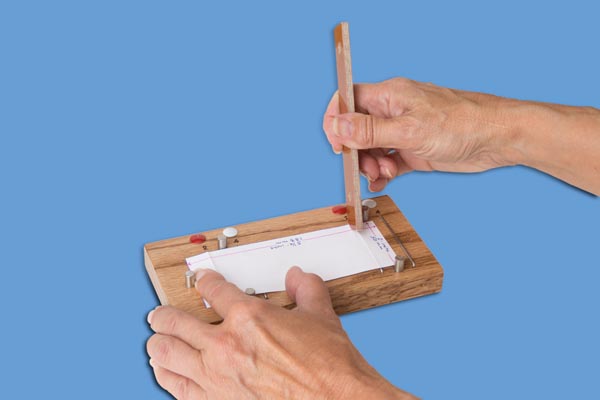
- The 2" by 5-1/4" (50mm x 135mm) strips are placed face up against the endpin of the scoring device (wooden block), on top of the wires (as shown).
- Then 'scored' using the micarta-scoring tool at the red dot positions.
- This will facilitate bending the strip to conform to the test weight
Step 3

- Bend the test strip at the 'scores', this will help it lie flat on the weight.
Step 4

- The test strip should be placed under one clip with the scoring lined up with the edge of the weight.
- Smooth the test strip across the bottom of the weight and attach the other end under the opposite clip.
Step 5

- Place your 2 5/8" x 6" (66mm by 150mm) printed stock test specimen on the base pad of the unit.
- A small piece of tape may be used to secure the specimen to the base unit if necessary
Step 6
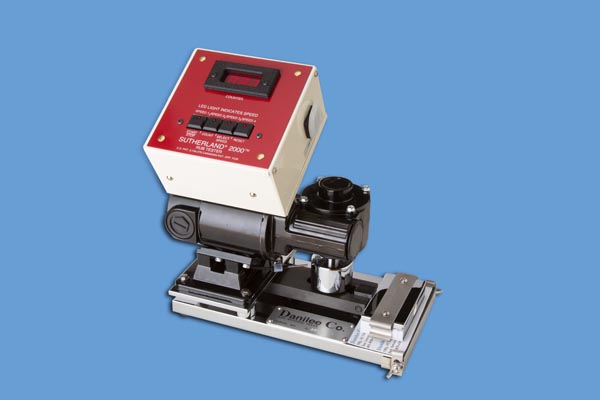
- Place the weight (with the test strip attached) on the arm of the unit by slipping the hook into the arm over the pin.
- The weight should lay flat on the test specimen
- The machine should NOT be running
Step 7
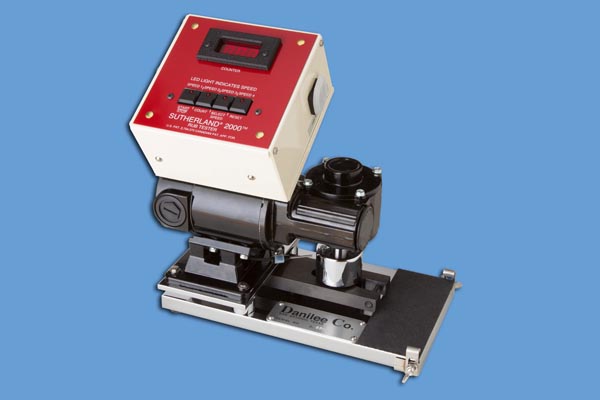
- Use the "count" button to select the number of strokes desired.
- Pressing the button will start the count.
- Holding the count button down, the machine will count in increments of 1 until it reaches 10
- The machine will then count in increments of 10 until it reaches 100
- When the button is released, the machine will count in increments of one again, following the same sequence mentioned previously.
- Use the 'select speed' button to choose speed 1, 2, 3, or 4
- The small light at the tip if the black button will indicate the speed chosen
- Press the 'start' button to begin the test
- The unit will countdown the strokes to 000, then it will automatically reset to the count just entered.
- Remove the weight and examine the test specimen
Step 8
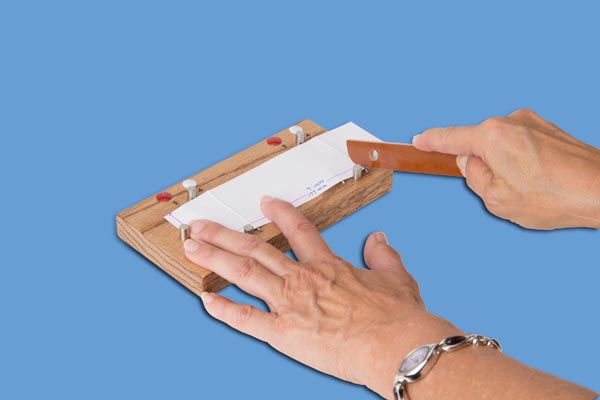
- The 2-inch by 7-inch (50mm x 177mm) strips are placed face up against the end pin of the scoring device (wooden block).
- On top of the wires (as shown) then 'scored' using the micarta scoring tool at the white dot positions.
- This will facilitate bending the strip to conform to the test weight
Step 9

- The test strip should be placed under one clip with the scoring lined up with the edge of the weight
- The test strip should be placed under one clip with the scoring lined up with the edge of the weight
- Smooth the test strip across the bottom of the weight and attach the other end under the opposite clip on the weight
Step 10
- Steps 10-12 are the same as 5-7; only using the 4-lb weight.
